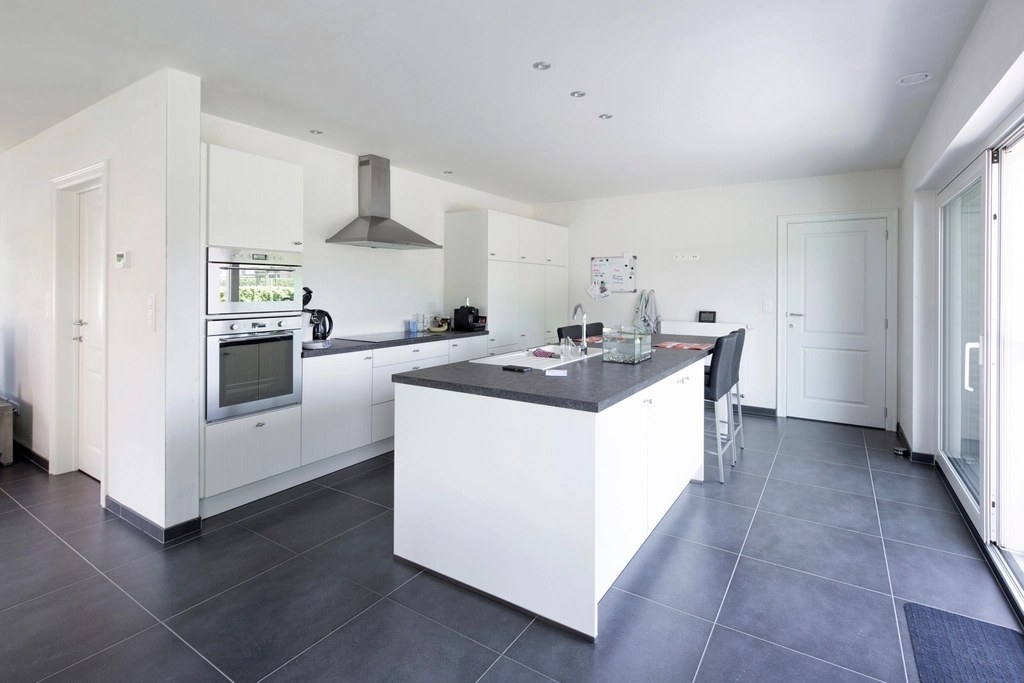
Large-format usually means anything from 600x600mm upwards: big squares, 1200mm planks, and porcelain slabs well over a metre long. Fewer grout lines give a floor a calm, expansive feel, but the bigger the tile, the less room there is to hide poor workmanship. A step between neighbouring tiles that would go unnoticed at 300mm square catches both eye and toe at 1200mm.
Large-format tiles, kept flat and true
Flatness comes first
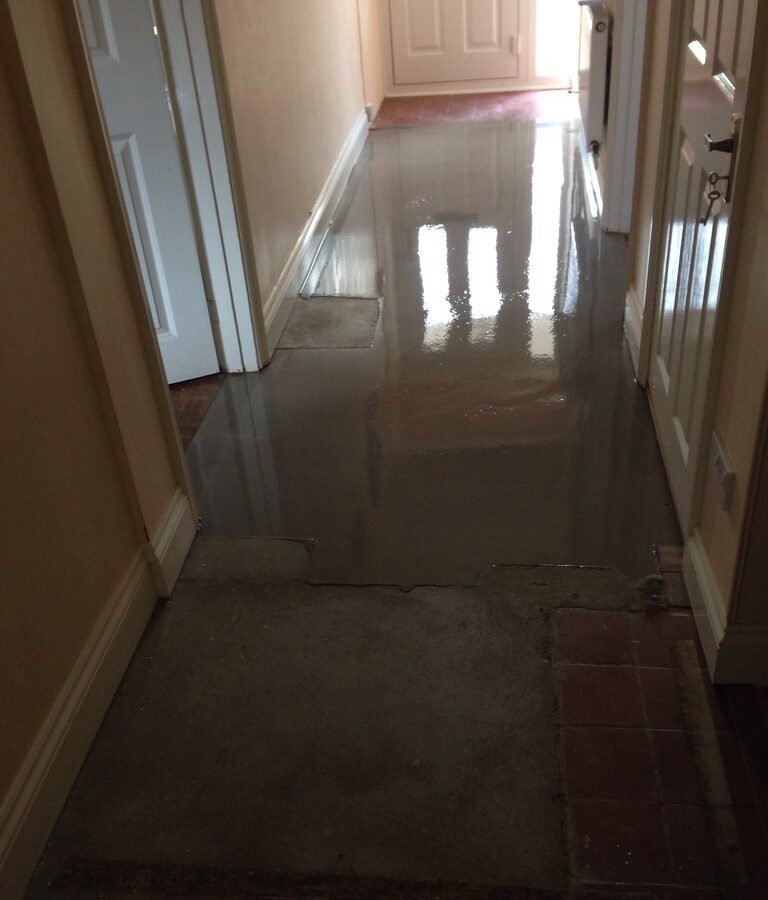
A large tile cannot bend to follow a wavy floor. Before fixing, we check the substrate against a straightedge, and where it is out of tolerance we bring it flat with a self-levelling compound; see our screeding and levelling page. Skipping this step is the single most common cause of failed large-format work.
Controlling lippage
Edges and joints
Most large-format porcelain is rectified, meaning the edges are precision-ground after firing. That allows tight, even joints of around 2 to 3mm; we would not push below that on a floor, because the joint is what accommodates normal movement. We will talk you through spacer size and grout colour during your design visit so there are no surprises.
Start with a home visit
Large-format samples are heavy and awkward to cart around, so we bring them to you. A Tilewright consultant will visit your home with samples, evenings and weekends included, measure up properly, and follow up with a detailed written quotation within 48 hours. We are rated 4.9 out of 5 on Google, and every floor is backed by our 10-year insurance-backed workmanship guarantee. Request a free quotation or book an appointment.
Questions tilers actually get
What counts as a large-format tile?▾
There is no official cut-off, but the trade generally treats anything from 600x600mm upwards as large-format, including long plank tiles and porcelain slabs of a metre or more. The bigger the tile, the more the result depends on substrate flatness and full adhesive coverage, which is where an experienced fixer earns their keep.
What is lippage and how do you prevent it?▾
Lippage is the small step you feel where one tile edge sits higher than its neighbour. We prevent it by levelling the substrate first, back-buttering for full adhesive contact, using a clip-and-wedge levelling system while the adhesive cures, and keeping plank offsets to a third rather than a half.
Why do you recommend a third offset instead of a brick bond?▾
Long tiles bow fractionally during firing, with the high point at the centre. Lay them half-offset and each tile’s centre meets its neighbour’s end, exaggerating the step. A third offset keeps those points apart, which is why most manufacturers specify it for planks over about 600mm.